How to Mix Images in Photoshop? Detailed Guide to Image Mixer in 2024
Last Updated: January 25, 2024
Hey there, creative minds! 🎨 Are you ready to dive into the vibrant world of image mixing and color blending? Whether you’re a budding artist, a Photoshop enthusiast, or just someone who loves playing with visuals, you’re in the right place. In this blog, we’re going to unravel the secrets of mixing images like a pro in Photoshop and extracting mesmerizing color palettes from your favorite pictures. No more scrolling through Instagram wishing you could create those eye-catching blends; it’s your turn to make some magic!
What are Image Mixers?
- Have you ever seen those incredible images where it seems like two different worlds have collided in one frame? That’s the magic of image mixers! An image mixer is like a digital cauldron where you blend different photos to create something utterly unique. The possibilities? Endless! From creating surreal art to blending landscapes, the world is your oyster.
- Now, let’s talk about AI image mixers. These aren’t your average photo-editing tools. Imagine a smart assistant that not only mixes your images but also suggests creative combinations you might not have thought of. AI image mixers analyze the elements in your photos, like color, texture, and composition, and use this information to create blends that are harmonious and visually striking. It’s like having a little bit of Harry Potter’s magic in your hands!
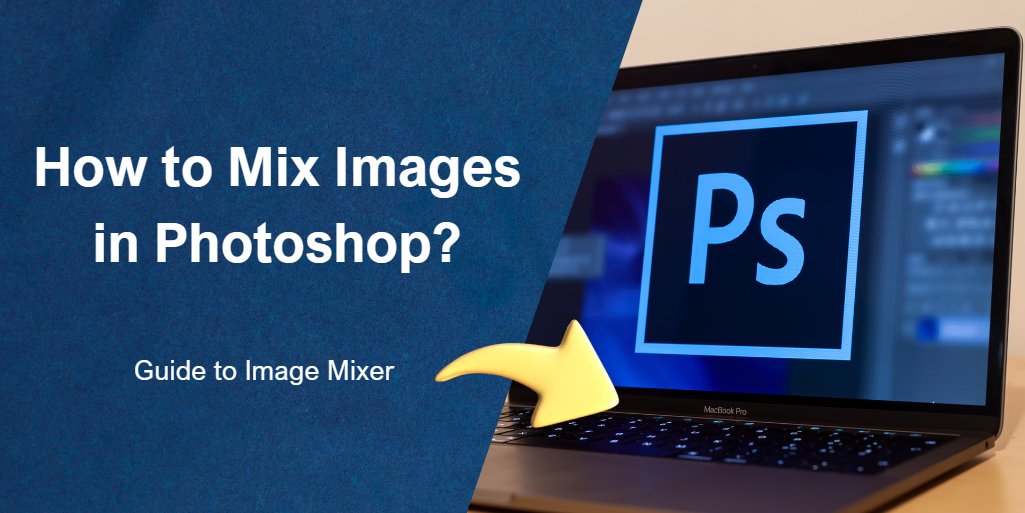
How to Mix Images in Photoshop?
- Ever wondered how to blend two images into one stunning piece of art in Photoshop? Let’s break it down into simple steps that even beginners can follow. No wizardry required, just your creativity and a bit of Photoshop magic!
- Step 1: Choose Your Images
- First things first, pick two images you’d love to blend. Maybe a portrait and a landscape? Ensure they have complementary colors or themes for a more cohesive look.
- Step 2: Open Photoshop and Import Images
- Launch Photoshop. Drag and drop your chosen images into the workspace. They’ll open as two separate layers, which is exactly what you need.
- Step 3: Resize and Position
- Use the ‘Transform’ tool (Ctrl + T) to resize the images so they fit well together. Think about how they should overlap and interact.
- Step 4: Blend Modes
- Here’s where the fun begins! In the Layers panel, you’ll see a drop-down menu labeled ‘Normal’. Click it and explore different blend modes like ‘Overlay’, ‘Multiply’, or ‘Screen’. Watch as your images start to blend magically.
- Step 5: Mask and Refine
- Add a layer mask to one of your layers. Now, with a soft brush, gently paint over the areas where you want to blend or hide. This step allows for a more refined and natural blend.
- Step 6: Adjust Colors and Contrast
- To make your image really pop, adjust brightness, contrast, and saturation. Go to ‘Image’ > ‘Adjustments’ and play around until it looks just right.
- Step 7: Save and Share
- Once you’re happy with your creation, save it and don’t forget to show it off! Share it on social media or with friends.
How to Extract and Blend Colors from Images?
- Color blending isn’t just for painters. You, too, can extract and blend colors from images, creating a palette that’s uniquely yours. Here’s how you can do it using online tools:
- Step 1: Choose Your Image
- Select an image with colors you love. It could be anything from a landscape photo to a piece of abstract art.
- Step 2: Use an Online Color Extractor
- Websites like Adobe Color, Canva’s Color Palette Generator, or Coolors.co are perfect for this. Upload your image, and these tools will extract a color palette for you.
- Step 3: Analyze Your Palette
- Look at the colors you’ve got. How do they interact? What mood do they create? This understanding is key for designers and artists to use these colors effectively.
- Step 4: Apply Your Palette
- Now, use this palette in your next project. Whether it’s a website design, an illustration, or a room’s decor, these colors extracted from your favorite image will bring a personal touch.
- Step 5: Experiment and Create
- Don’t be afraid to experiment. Mix and match these colors in different projects. The more you play with them, the more you’ll understand their potential.
The Aesthetic Appeal of Trail Mix Images
- Trail mix isn’t just a snack; it’s a feast for the eyes too! The recent trend of photographing trail mix is more than just about capturing nuts and dried fruits. It’s an exploration of texture, color, and composition. Imagine a vibrant photo where the rich browns of almonds contrast with the bright reds of cranberries, all sprinkled with a dash of green pumpkin seeds. It’s not just a picture; it’s a palette of nature.
- These images do more than make our mouths water; they’re a lesson in food photography. It’s about finding the right balance – not just in flavors, but in your frame too. The composition of these images often plays with symmetry and asymmetry to create a visual harmony. The color balance? It’s crucial. It’s about making the colors pop without overwhelming the viewer. In essence, these trail mix images are a dance of elements, coming together to create a visual symphony.
Photoshop Mix for Combining Two Images
- Photoshop – the name itself conjures up images of unbelievable photo edits and mind-bending visuals. When it comes to mixing two images, Photoshop is your go-to tool. But it’s not just about slapping one image onto another; it’s an art form.
- Take, for example, the recent trend of blending urban landscapes with natural elements. Imagine a photo where the bustling streets of New York seamlessly transition into the serene woods of Yosemite. This technique, often called photo manipulation, isn’t just about technical skills; it’s about vision. It’s creating a dialogue between two seemingly unrelated worlds.
- And the case studies? They’re as inspiring as they are impressive. Like the project where a photographer blended day and night into a single frame, capturing the essence of time in a cityscape. Or the artist who merged wildlife images with urban settings, making a statement on nature in modern environments. These aren’t just images; they’re stories told through skillful blending.
The New Frontier: Mixing Image and Audio with AI
- Picture this: an image not only capturing your eyes but also whispering to your ears. Sounds like sci-fi, right? Well, not anymore. Welcome to the groundbreaking world of mixing images with audio using AI – a new frontier in digital creativity.
- Imagine an app where you upload a photo of a bustling city street, and it automatically pairs with the sounds of traffic, distant conversations, and the subtle melody of a street musician. That’s the magic of AI in this realm. It’s not just about visual aesthetics; it’s about creating an immersive sensory experience.
- The potential applications are as vast as your imagination. Think of a digital art gallery where each piece is accompanied by a soundscape, enhancing the emotional impact. Or educational tools where images of historical events are paired with authentic audio, making learning a multidimensional experience. It’s a blend of art, technology, and storytelling, opening up new avenues for artists, educators, and marketers alike.
- The future implications? They’re huge. As this technology evolves, we could see personalized soundscapes for our photo albums, enhancing our memories with the dimension of sound. Or perhaps interactive advertising, where a product image is complemented by audio, creating a more engaging consumer experience. The possibilities are endless and thrilling.
Practical Exercise in Mixing Two Images Together
- Now, let’s roll up our sleeves and get hands-on with a fun exercise. You’re about to mix two images together, and trust me, it’s easier than baking a cake (and way more fun!).
- Choose Your Images: Start with two images. Let’s say one is a portrait of a person, and the other is a beautiful sunset. The contrast here could make for a stunning blend.
- Use a Simple Editing Tool: You don’t need high-end software for this. Free online tools like Canva or Adobe Spark are great for beginners.
- Layer and Blend: Place your portrait over the sunset image. Now, play with the blend modes. Maybe lighten or multiply? Watch as the colors of the sunset softly illuminate the portrait, creating a dreamy effect.
- Adjust and Refine: Play around with opacity, filters, and adjustments. The goal is to make the two images look like they belong together, creating a seamless blend.
- Save and Share: Once you’re happy with your creation, save it and share it! Post it on social media, or better yet, share it in the comments section of this blog. Let’s create a community gallery of our blended images!
Conclusion
And there you have it, folks – a whirlwind tour of mixing images and colors like a true artist! 🌟 From blending dreamy landscapes in Photoshop to extracting color palettes that speak to your soul, we’ve covered some ground today. Remember, creativity is all about exploration and experimentation. So don’t be afraid to try new things and make a few ‘happy little accidents’ along the way. Share your creations, learn from each other, and most importantly, have fun with it. The world is your canvas, and now you’ve got some cool new brushes to paint it with. Keep creating, keep inspiring, and stay awesome! Until next time, happy blending! 🎉